Have you ever wished you could run your favorite Android apps or games on your computer’s big screen? Whether it’s because of better performance, a larger display, or just the convenience of using a keyboard and mouse, there are plenty of reasons why running Android apps on a PC is appealing. Personally, I’ve always found it fascinating that something designed for a mobile phone can work just as smoothly on a desktop or laptop.
The good news is, you don’t need to be a tech wizard to get Android apps running on your PC. You just need a tool that makes the magic happen: emulators. Over the years, I’ve tried several, and they all have their pros and cons. In this guide, I’m going to walk you through the best methods to get your favorite Android apps up and running on your computer, share some personal experiences, and hopefully make your choice a little easier.
Read Also:
- 10 Best Android Emulators for PC in 2024: Play Your Favorite Mobile Games on the Big Screen
- What is an Android Emulator? Uncover How It Works and Its Top Benefits
- Android Emulators vs Real Devices: Which is Better for Testing and Development?
There are tons of options out there, but not every emulator will suit your needs. If you’re a gamer, your needs might be completely different from someone who just wants to use Instagram or WhatsApp on their desktop. In fact, that was one of the things I learned after jumping between a few emulators myself. So, let’s dive in, and I’ll help you find the right one!
Choosing the Right Emulator for Your Needs
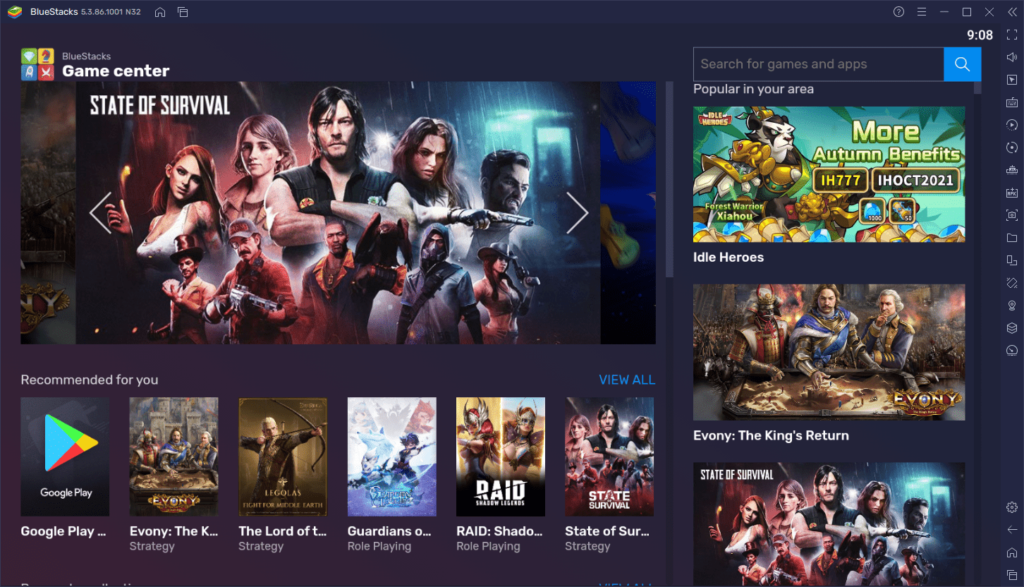
When you start looking into emulators, it can be overwhelming with the number of choices. But here’s the thing, not all emulators are created equal. Each one serves a different purpose, and picking the right one can make a huge difference.
Emulators for Gamers: BlueStacks and LDPlayer
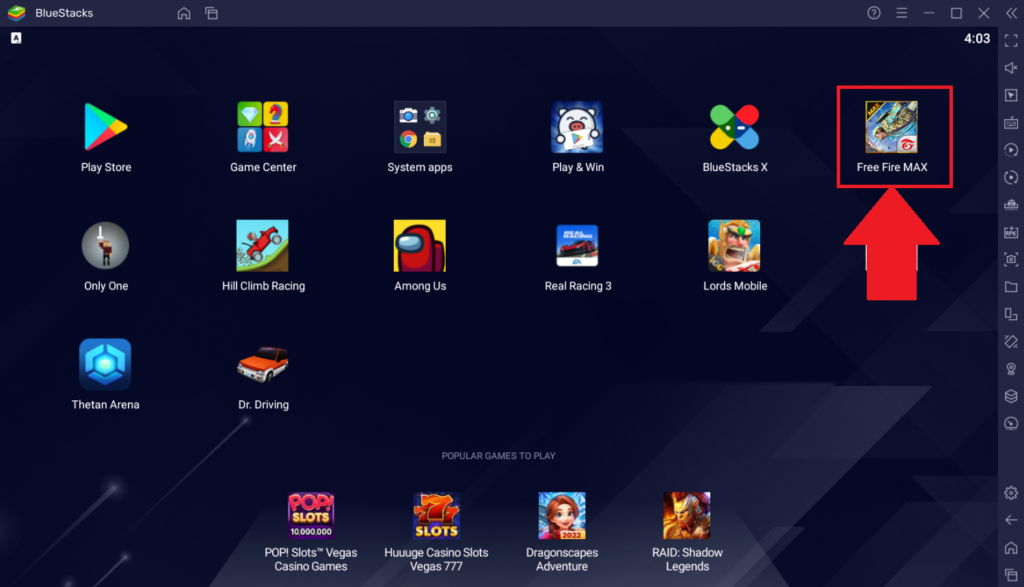
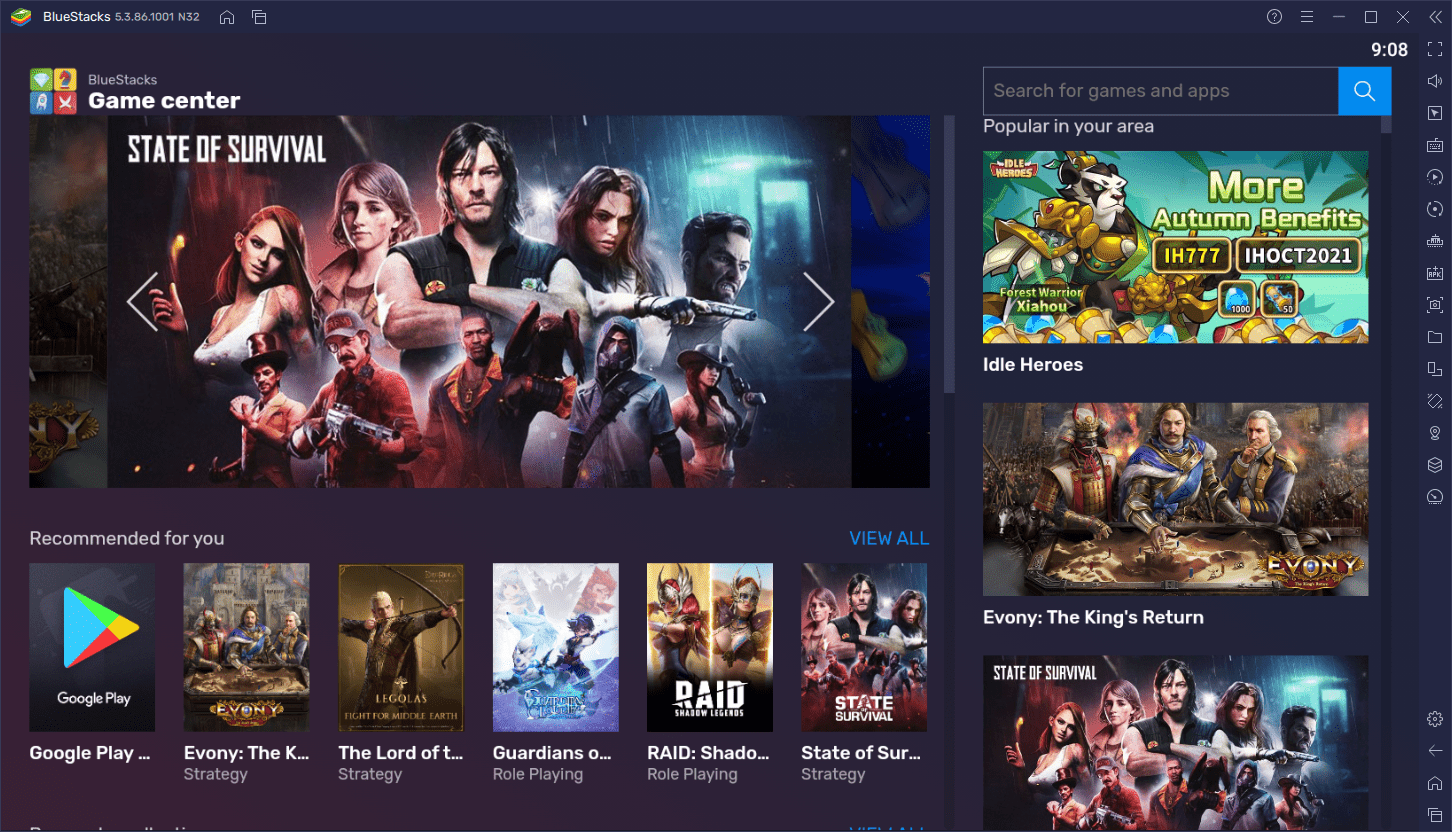
When it comes to gaming, BlueStacks is the first name that comes to mind. It’s been around for years, and for good reason. I’ve been using it for my Android games on PC, and honestly, it’s hard to beat. What I love about BlueStacks is how optimized it is for gaming. The performance is solid, even with more graphically demanding games like PUBG or Call of Duty Mobile. Plus, it has built-in features like multi-instance gaming, which allows you to play multiple games at once.
That said, BlueStacks can be a bit of a resource hog. If you’re not working with the latest PC hardware, it might slow things down, which can be frustrating during intense gaming moments. That’s when I discovered LDPlayer. It’s lighter on the system and still delivers great gaming performance. I find it especially useful when I’m running older games or apps that don’t require top-tier specs. It’s also one of the few emulators optimized for AMD-powered machines, which is a huge plus for some users.
For Casual Users: NoxPlayer
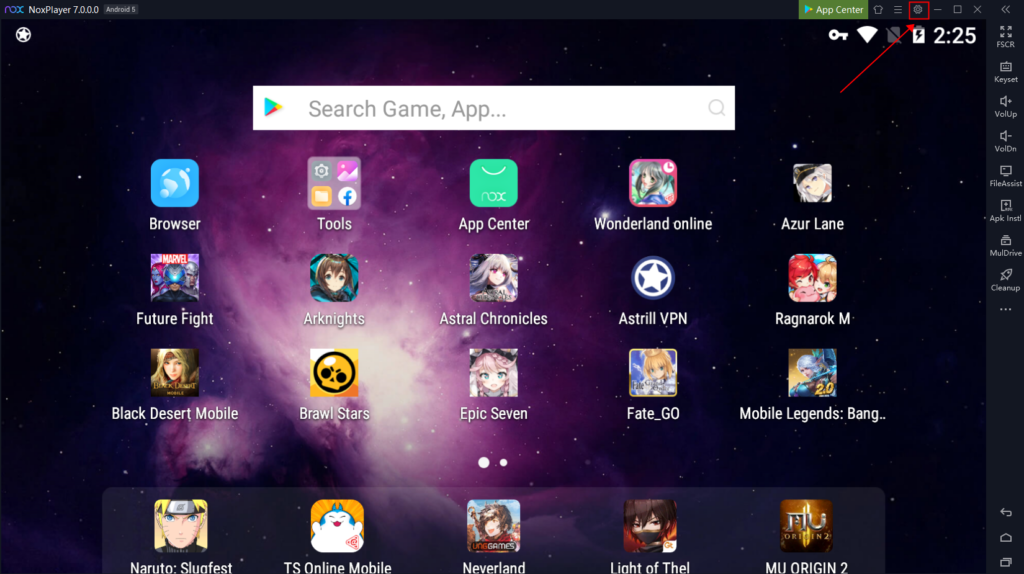
Now, if you’re not looking to push your PC’s limits and just want something simple to use Instagram or chat with friends on WhatsApp, NoxPlayer might be your go-to. This emulator is lightweight and has a very simple interface. I like using Nox when I just need to run a quick app without all the bells and whistles. It’s snappy and doesn’t overcomplicate things with too many settings. Plus, it has easy file-sharing between your PC and the emulator, which is convenient if you need to transfer images or documents.
Developers: Android Studio Emulator
If you’re more of a developer or someone who likes tinkering around, the Android Studio Emulator is the way to go. It’s built by Google, so you can trust its reliability for app testing. But I have to warn you, it’s not the fastest emulator out there. It’s designed for developers to test apps, so while it’s great for that purpose, don’t expect it to run heavy games with high FPS.
How to Set Up an Emulator on Your PC
Setting up an emulator isn’t rocket science, but there are a few things to keep in mind depending on which emulator you choose. Here’s a quick guide on how to get started with BlueStacks, since it’s one of the most popular options out there.
Step 1: Download and Install BlueStacks
The first step is, of course, downloading the software. Head to the official BlueStacks website and download the latest version. One thing I like about BlueStacks is that they frequently update it to keep up with the latest Android versions and app updates.
Step 2: Run the Installation File
Once you’ve downloaded the installer, run it, and follow the on-screen instructions. It’s pretty straightforward, but I always like to choose the custom installation option, just so I can control where the emulator is installed on my PC. Depending on your PC’s speed, this process can take a few minutes, but it’s usually painless.
Step 3: Log In with Google Account
After installation, BlueStacks will prompt you to log in with your Google account. This is just like setting up a new Android phone, so you’ll need to sign in with your existing account or create a new one. This is essential since Google Play Store is integrated into BlueStacks, allowing you to download apps directly.
Step 4: Start Downloading Apps
Now the fun begins! Once logged in, you’ll be able to browse the Play Store just like on an Android device. Download your favorite apps and start using them on your PC. One thing I love is that you can sync apps from your phone to BlueStacks, so you can easily pick up where you left off.
Performance Tips to Make the Most of Your Emulator
Once you’ve got your emulator up and running, you might run into performance hiccups, especially if your PC isn’t super powerful. Here are a few tricks I’ve learned to get the best out of these emulators.
Allocate More RAM and CPU
Most emulators allow you to adjust how much RAM and CPU power they use. In BlueStacks, you can find this option in the settings under the “Performance” tab. I usually allocate more RAM when running heavier games, and it makes a noticeable difference in performance. Just make sure your PC has enough free resources, or you might end up slowing everything down.
Enable Virtualization Technology
One thing a lot of people overlook is enabling Virtualization in their BIOS settings. This allows your PC to better handle the emulator, and trust me, the performance boost is significant. I had no idea about this until I stumbled across it in a forum, and ever since I enabled it, my emulator’s performance has been much smoother.
Keep Your Emulator Updated
This might sound obvious, but keeping your emulator updated can solve a lot of performance and compatibility issues. BlueStacks, for example, frequently releases updates to improve performance and fix bugs, so always check for updates.
Conclusion: Why You Should Try Android Emulators
Using Android emulators on your PC opens up a world of possibilities. Whether you’re gaming, using productivity apps, or just want the convenience of a larger screen, emulators offer a seamless way to experience Android on your desktop or laptop. After experimenting with different emulators for years, I’ve realized how useful they can be, even for everyday tasks.
Give it a try, and you might find that using your favorite apps on a big screen is more enjoyable than you expected. Plus, with all the options available, there’s an emulator out there that’s perfect for your specific needs.

