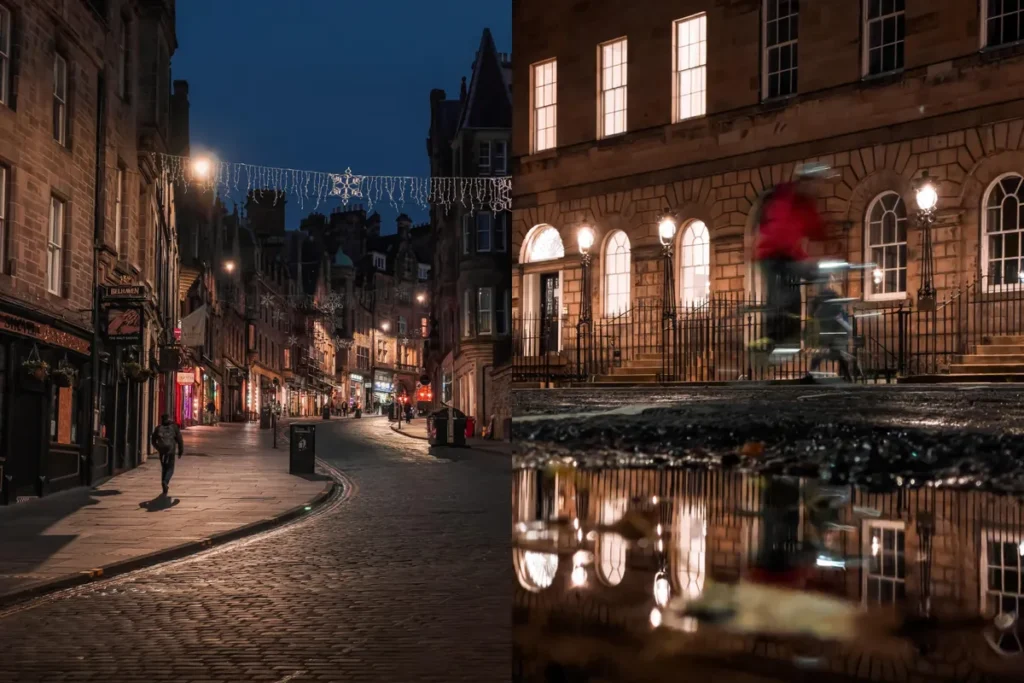
Smartphone Photography Tips can make a huge difference when capturing night photos. With the right techniques, you can use night mode to take stunning shots in low light, bringing out vivid colors and crisp details even in dark settings. Whether you’re snapping a city skyline at night or capturing a cozy dinner scene, these essential tips will help you make the most of your smartphone camera in low light conditions.
Capturing clear night photos with your phone requires some know-how, particularly with the night mode photography techniques available on most modern devices. Knowing the right low light smartphone camera settings and applying a few easy tricks can enhance your photos dramatically. These expert Smartphone Photography Tips cover everything from reducing noise in low light to finding the best settings to showcase every detail in your shot.
One of the biggest challenges with low-light photography is the presence of unwanted noise or graininess, which can detract from an image’s quality. Thankfully, with a few smart adjustments, like tweaking night mode settings for phone camera, you can create clear and vibrant shots. As you’ll see in the following tips, simple adjustments can help you improve smartphone night photography without needing professional equipment.
Ready to level up your photography skills? This guide will provide you with proven methods to enhance your smartphone photos in dimly lit environments. Let’s dive into these Smartphone Photography Tips and start capturing high-quality images that will impress your friends and family!
Why Night Mode Matters: Key Smartphone Photography Tips
Tip #1: Use a Tripod or Stable Surface
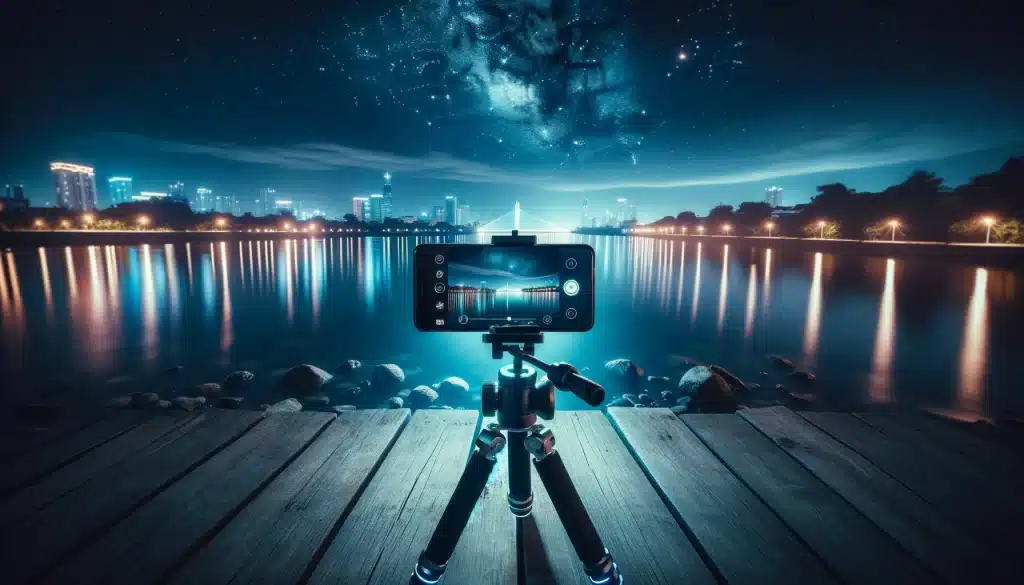
One of the most important factors in night photography is stability. I can’t tell you how many shots I’ve ruined simply because I didn’t have a steady hand. A tripod helps keep the phone steady for long exposure shots, which is crucial when your phone is collecting light in low-light situations. For a more accessible solution, I often prop my phone up on a stable surface, like a bench or even a stack of books. For the best results, use a remote shutter or a timer to avoid any accidental shakes when tapping the screen.
Tip #2: Experiment with Exposure Settings
The default exposure settings in night mode might not always give you the best results, so it’s worth taking control over the exposure manually. On both iOS and Android, adjusting exposure can make your shots more dramatic, capturing shadows without overexposing highlights. On iPhones, simply tap on the screen to focus and then swipe down to lower the exposure. For Android users, head into the camera app’s manual or Pro Mode and reduce the exposure until you get a balanced shot.
Tip #3: Play with ISO and Shutter Speed in Pro Mode
If you’re looking to take your night photography to the next level, use Pro or Manual Mode (available in most flagship Android phones and iPhones in certain camera apps). Here, adjusting ISO (which controls how sensitive the camera is to light) and shutter speed (how long the camera sensor is exposed to light) will give you far more control. For most night shots, I find that a lower ISO (like 400) works best to reduce noise, and a slower shutter speed (around 1/4 second) captures more detail without creating too much blur.
Tip #4: Use HDR to Enhance Dynamic Range
HDR (High Dynamic Range) is a powerful feature that can bring out details in both the shadows and highlights of your night photos. When you’re photographing a brightly lit area against a dark background, HDR can balance the exposure, preventing bright lights from appearing overexposed while retaining the details in the shadows. While iPhones automatically use HDR in Night Mode, Android phones may require you to manually enable it in settings. I always toggle HDR on for night photos, as it tends to make the images pop.
Tip #5: Utilize the Ultra-Wide and Wide Lenses
Modern smartphones come with ultra-wide and wide lenses, and when used correctly, these lenses can transform your night shots. I’ve had incredible success capturing cityscapes, including expansive skylines, using the ultra-wide lens. Just keep in mind that ultra-wide lenses can introduce some noise or distortion, so if you’re focusing on a subject with a lot of detail, stick to the standard wide lens for sharper clarity.
Tip #6: Focus on Lighting and Reflections
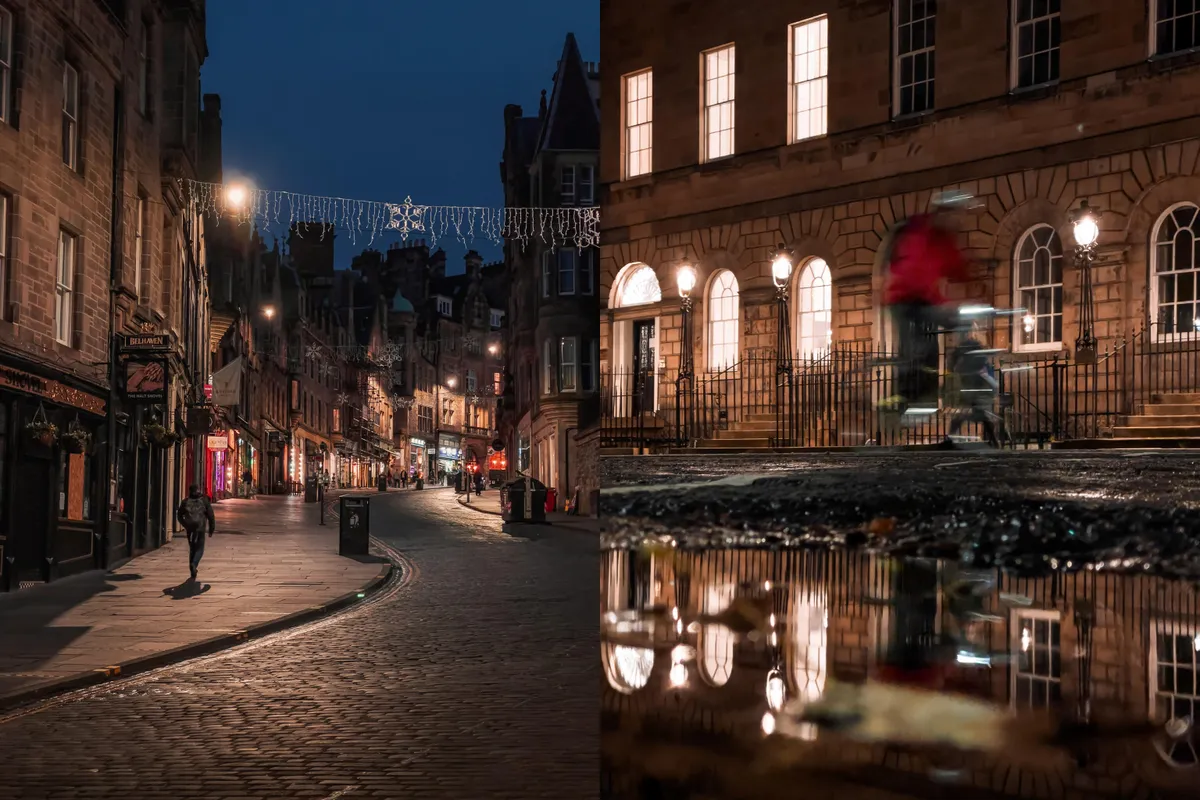
When it comes to night photography, light is everything. I’ve often found the most interesting night shots come from creative uses of available light—street lights, neon signs, and even headlights can turn an ordinary scene into something magical. Pay attention to reflections too, whether in puddles, windows, or even wet pavement. These reflections add another layer of depth to your photos and can give them a cinematic, artistic feel.
Tip #7: Adjust the White Balance
One feature that’s easy to overlook but incredibly useful for night photography is adjusting white balance. If your photos are coming out with an orange or blue tint, adjusting the white balance can make a big difference in achieving more accurate colors. I like to use the auto white balance for most cases, but if I’m shooting under streetlights or other artificial lighting, manually adjusting it can make the colors appear much truer to life.
Tip #8: Take Advantage of Night Mode’s Auto Settings
While manual settings give you control, sometimes the auto night mode feature works wonders, especially when you’re in a hurry or unsure of the settings to use. Most smartphones now come with an auto night mode that adapts based on the scene. For example, iPhones detect low light and automatically switch to night mode when you’re in dim environments. Similarly, Android devices like the Google Pixel and Samsung Galaxy have night mode options that automatically activate when needed. While this isn’t always the most customizable, it’s great for capturing fast-moving scenes without fiddling with settings.
Tip #9: Try Long Exposure Shots for Star Trails or Light Painting
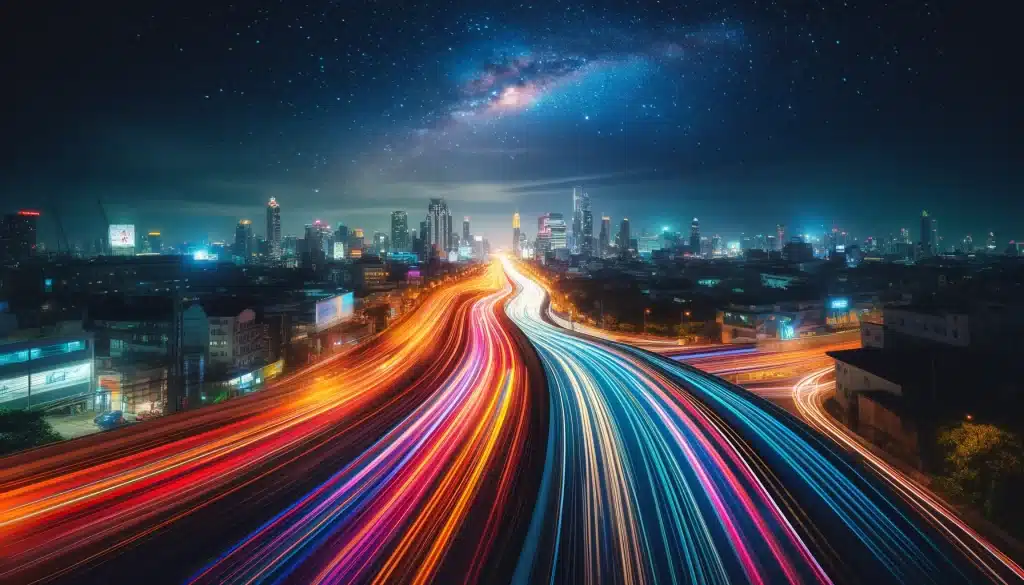
If you want to get really creative, try capturing long exposure shots. Some smartphones allow you to manually adjust the exposure time, letting you capture star trails or light painting. For example, in a dark, clear sky, you can capture the stars’ movement over time, which results in stunning images. Similarly, light painting—where you move a light source in front of the camera during an extended exposure—can add a unique artistic element to your photos.
Tip #10: Edit Your Night Photos with Care

After all that hard work taking the perfect night shot, editing plays a crucial role in enhancing the final image. I like to use apps like Lightroom or Snapseed to adjust the brightness, contrast, and saturation of my night shots. The key is to make subtle adjustments without overdoing it. Enhancing shadows can bring out hidden details, while adjusting highlights helps avoid any areas that might be too bright. I usually avoid boosting saturation too much, as it can make the photo look unnatural.
Conclusion
Night mode photography on smartphones has truly revolutionized how we capture memories in dim settings, allowing anyone to create stunning images with ease. By following these essential smartphone photography tips, you can unlock the full potential of your device’s camera for low-light conditions. From fine-tuning night mode settings to exploring innovative techniques, each step helps produce cleaner, brighter, and more visually striking photos.
To further enhance your skills, dive into advanced concepts like reducing noise in night photography and optimizing your smartphone’s low-light performance. Experiment with various settings and techniques tailored to your device model to find what works best. These hands-on adjustments and trials are the key to consistently capturing breathtaking images.
With the right guidance, you’ll gain the confidence to photograph everything from the dazzling cityscape at night to the serene beauty of a starry sky. For more expert tips and inspiration, check out this guide to improving your photography skills. Armed with these insights, you can transform your night photos, ensuring each shot tells a compelling story. Start applying these tips today, and watch your smartphone photography evolve into a creative art form that truly captures the magic of the night.

